
If you’ve never made yogurt at home, you are in for a pleasant surprise. It’s not only super easy to make, but it’s also tastier and healthier than store-bought yogurt. We grew up with homemade yogurt being the norm in our home, with giant pots of homemade yogurt set on the countertop or filling the fridge shelf. The process of making yogurt is so simple that you can have fresh yogurt in less than twelve hours.
Fresh yogurt is free of additives and boasts a much higher number of live bacteria culture. This means it’s more beneficial for your digestive system than yogurt that has been sitting around on your grocery store shelf. Making your yogurt is also a lot cheaper, and that’s a big deal for us considering how much yogurt we go through. With homemade, you also have the option of controlling the fat content of your yogurt. We like ours creamy and thick so we almost always use 3.25% homo milk, but you can make it just as well with lower fat content milk.
As you might already know, many Lebanese recipes incorporate yogurt in one way or another. Making yogurt at home makes it so we always have a fresh supply and enough yogurt for all our family recipes. Some of our favorite recipes that use yogurt include kibbe with yogurt, kafta with yogurt, Cucumber mint yogurt, and Shishbarak. Of course, we must not forget that one of the most important reasons we make yogurt at home is so we can make labneh spread. We could never get the tart flavor we enjoy in our spread if we didn’t start with homemade yogurt.
You Will Need
Ingredients
3.25% homo milk (or lower fat content milk)
yogurt with live culture OR Starter
Equipment
Instant-read or candy thermometer (optional but highly recommended)
Heavy Pot
Whisk
Measuring cup
Small bowl
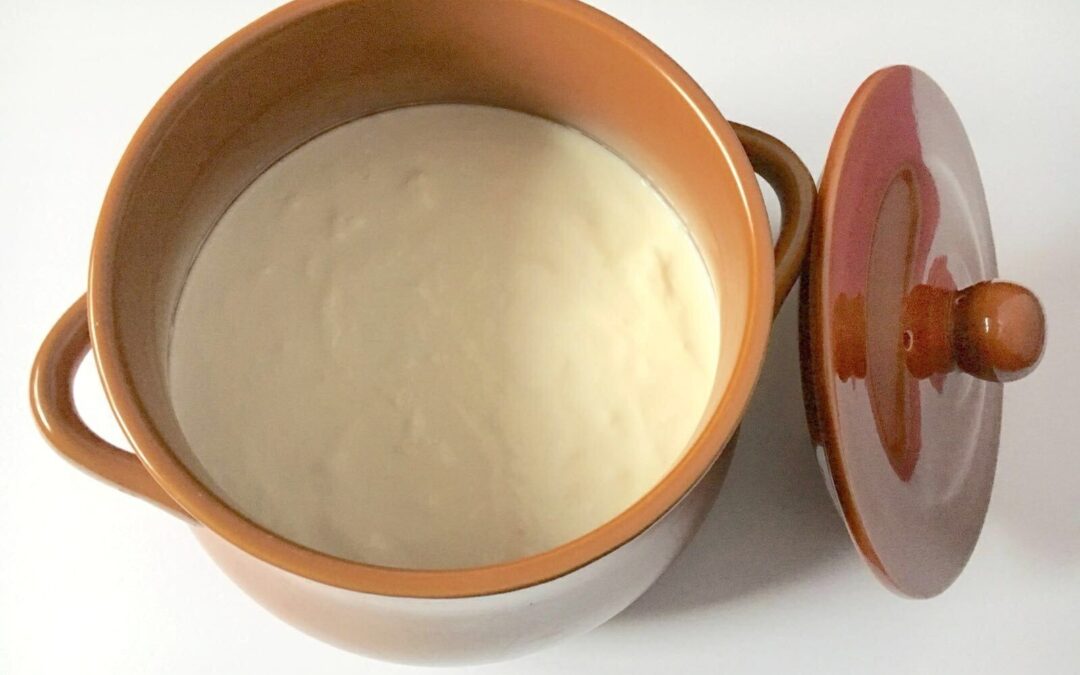
Ceramic pot – this is to both incubate the yogurt in and store in the fridge. It’s
optional and unnecessary to the final product, but it helps keep
milk warm while it incubates and stores well.
Blanket – for insulation
Instructions
Heat milk. Pour milk into a heavy pot and place over medium-low to medium-high depending on your stove type. If you are using an electric stove keep your heat on the lower end and stir periodically to keep milk from scorching on the bottom. If you are using a gas stove keep the heat on the higher end (no need to stir). Heat milk to 185°F /85°C which is the temperature at which milk starts to froth. It is very important to keep an eye on your milk as it gets closer to frothing to keep it from boiling over.
Cool milk. Remove milk from heat and let cool down to 110°F /43°C. If you are not using a thermometer (highly recommended) you can test the milk with your finger once it is cool to touch. You will know it is at the right temperature once you can hold your finger in the milk to the count of nine before it starts to feel too hot. this odd but effective method was sent down by generations of grandmothers before they had access to modern conveniences such as thermometers.
To transfer or not to transfer. If you choose to finish the process in the same pot, then continue to the next step. However, if you would like to transfer your warm milk into a different pot you need to consider some factors. Milk transfer will cool the milk down so keep that in mind when choosing when to transfer the milk. If you are transferring into a clay pot as we like to do, remember that insulated pots will keep milk from cooling for a longer amount of time. If we are strapped for time, we let it cool in the heavy pot until just before it’s ready to incubate and then transfer and finish the process.
Add starter. Reserve one cup of warmed milk in a separate bowl and add room temperature yogurt or dried bacterial culture and whisk. Add milk and yogurt mixture to remaining milk, whisk in gently and cover.
Incubate bacteria. Set milk in an undisturbed area and cover with a blanket to keep the temperature close to 100°F /38 °C. At the Seven hour mark, your yogurt should be ready. Type of culture, temperature, and your personal preference all affect the time required for yogurt to be set. Leaving it longer will result in a thicker tart yogurt (our favorite kind of yogurt).
Cool down. Place the pot in the fridge and let cool completely before cutting it into yogurt. Homemade yogurt will keep for two to three weeks in the fridge.
Storage. Once the yogurt is ready you may notice some whey water rising to the top. You can either stir it back into the yogurt or pour it off. Finally, you can leave the yogurt in a pot or transfer it to smaller containers.
Now that you have made your yogurt, you will never need to buy yogurt again. Just set aside a cup of yogurt as a starter for your next batch.

Homemade Yogurt Recipe {لبن}
Equipment
- Instant-read or candy thermometer -optional but highly recommended
- Heavy Pot
- Whisk
- Measuring cup
- Small bowl
- Ceramic pot -this is to both incubate the yogurt in and store in the fridge. (optional )
- Blanket – for insulation
Ingredients
- 4 liters 3.25% homo milk or however much you’d like to make
- 1 cup of yogurt with live culture OR Starter
Instructions
Heat milk
- Pour milk into a heavy pot and place over medium-low to medium-high depending on your stove type. If you are using an electric stove keep your heat on the lower end and stir periodically to keep milk from scorching on the bottom. If you are using a gas stove keep your heat on the higher end (no need to stir). Heat milk to 185°F /85°C which is the temperature at which milk starts to froth. It is very important to keep an eye on your milk as it gets closer to frothing to keep it from boiling over.
Cool milk
- Remove milk from heat and let cool down to 110°F /43°C. If you are not using a thermometer (highly recommended) you can test the milk with your finger once it is cool to touch. You will know it is at the right temperature once you are able to hold your finger in the milk to the count of nine before it starts to feel too hot. this odd but effective method was sent down by generations of grandmothers before they had access to modern conveniences such as thermometers.
To transfer or not to transfer.
- If you choose to finish the process in the same pot, then continue to the next step. However, if you would like to transfer your warm milk into a different pot you need to take some factors into consideration. Milk transfer will cool the milk down so keep that in mind when choosing when to transfer the milk. If you are transferring into a clay pot as we like to do, remember that insulated pots will keep milk from cooling for a longer amount of time. If we are strapped for time, we let it cool in the heavy pot until just before it's ready to incubate and then transfer and finish the process.
Add starter
- Reserve one cup of warmed milk in a separate bowl and add room temperature yogurt or dried bacterial culture and whisk. Add milk and yogurt mixture to remaining milk, whisk in gently and cover.
Incubate bacteria
- Set milk in an undisturbed area and cover with a blanket to keep the temperature close to 100°F /38 °C. At the Seven hour mark, your yogurt should be ready. Type of culture, temperature, and your personal preference all affect the time required for yogurt to set. Leaving it longer will result in a thicker tart yogurt (our favorite kind of yogurt).
Cool down
- Place the pot in the fridge and let cool completely before cutting into yogurt. Homemade yogurt will keep for two to three weeks in the fridge.
Storage
- Once the yogurt is ready you may notice some whey water rising to the top. You can either stir it back into the yogurt or pour it off. Finally, you can leave the yogurt in a pot or transfer it to smaller containers.
- set aside a cup of yogurt as a starter for your next batch.